Front and back hall
This area did not come off without a fight, but it did come off. I would say this removal was a C.
Methods used:
Steamer
Scorer
DIF/Fabric Softener and water
Scraper
Stairway and upstairs hallway
Try not to be distracted by Shaun's sexy apparel. The stairway was a real pain because the wallpaper went up to the top of the 15 foot ceiling:
And the paper extended all the way down the upstairs hallway, so that was fun. I'd give this area a D just for sheer annoyance and the death-defying location. It came off about the same as the entry.
Methods used:
Steamer
Scorer
DIF/Fabric Softener and water
Scraper
Dining Room This paper came off pretty easy, some of it was in larger strips, too. I would give this removal a solid B because we didn't have to use any steam or sprays.
Methods Used:
Scraper
Box Cutter (for the corners and edges)
Downstairs Bath
This room was a lost cause from the beginning. The ceiling had layers of I-don't-know-what on it, and the walls had wallpaper in some spots, thick latex paint in others. We scraped, steamed, scored, and sprayed to no avail. This room gets an F because we ended up having to do this:
Yeah, wallpaper removal is a big FAIL when you have to re-drywall the entire room. But we added tall beadboard to the walls, so it all turned out great.
Methods used:
Every removal method possible
Art Room
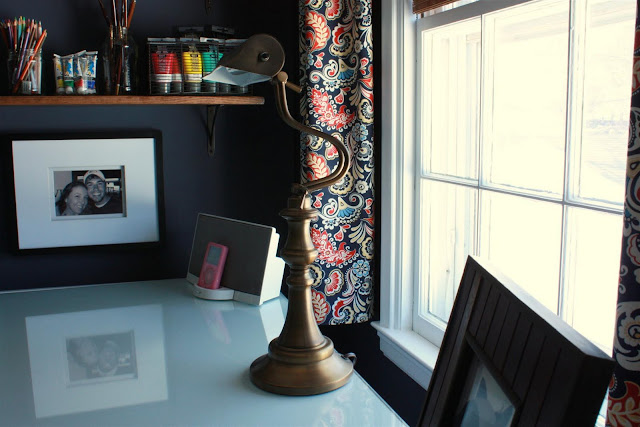
Shaun did all this removal himself, and he gives it a C- due to all the little scraps that came off the walls. You can see in this photo that it was not coming off the smooth plaster walls easily. At least it was a small room, so it didn't take that long. Alas, I'm not quite finished because this still lurks in the small closet:
Even though all the wallpaper isn't off, I still reserve the right to consider myself done with wallpaper. Who knows when (or if) I will get to this closet!
Methods Used:
DIF spray
Scorer (used minimally)
Scraper
Den/Family Room/Office/Whatever this room is
The paper in this room came off like a dream, as you already heard. I obviously still have some little pieces to remove, but I would say this is as close to an 'A' removal as it gets.
Methods Used:
Scraper
Box cutter for edges
To wrap up, here are my wallpaper removal tips:
~ It is best to lay down a tarp or dropcloth before removing the paper, because wet pieces will stick to your floors like you wouldn't believe. Don't skip this step!
~ Evaluate the paper you have. Some papers are thick and vinyl-like with a paper backing, some are thin and come off in tiny pieces. Removal methods are different for every type of paper.
~ Outlets and switches are a great place to get a good tear started to check out how easy removal will be. It also is a good place to see what the original paper looked like if it has been painted like ours! Here's a fun strip we found in the orange room:
Here, chickie chickie!
~ Use a steamer to loosen the glue, using a scorer can help to get behind the paper, however it also makes it very hard to get large pieces off the wall. Use it when you absolutely have to!
~ Sometimes the paper's glue is so dried up you don't need to use any steam or spray, which really saves you from a nasty, sticky mess. Don't get it wet until you know you need to!
~ We do like DIF, but I have had success with fabric softener and water as well.
~ As you can see from my list, we used different methods for almost every room. Play around with the possibilities until you find what works best.
~ Most importantly, wash the walls like IT'S YOUR JOB when you have all the paper off. We washed all our walls with hot water and a couple drops of dish soap at least twice before attempting to prime, changing out the water often. If you don't, the glue can make your paint job streaky and go on funny. Of course, priming helps a lot, but it's still best to make sure you have a nice smooth, glue-free surface.
Adios, wallpaper!


.jpg)
.jpg)
.jpg)
.jpg)

.JPG)

.JPG)
.JPG)


.jpg)
.jpg)

.jpg)
.jpg)

.jpg)
.jpg)

.JPG)
.JPG)


.jpg)


